Key facts: Water Mitigation and Drying
- Mitigation means taking reasonable steps to stop water damage from spreading, which most insurance policies require of the policyholder.
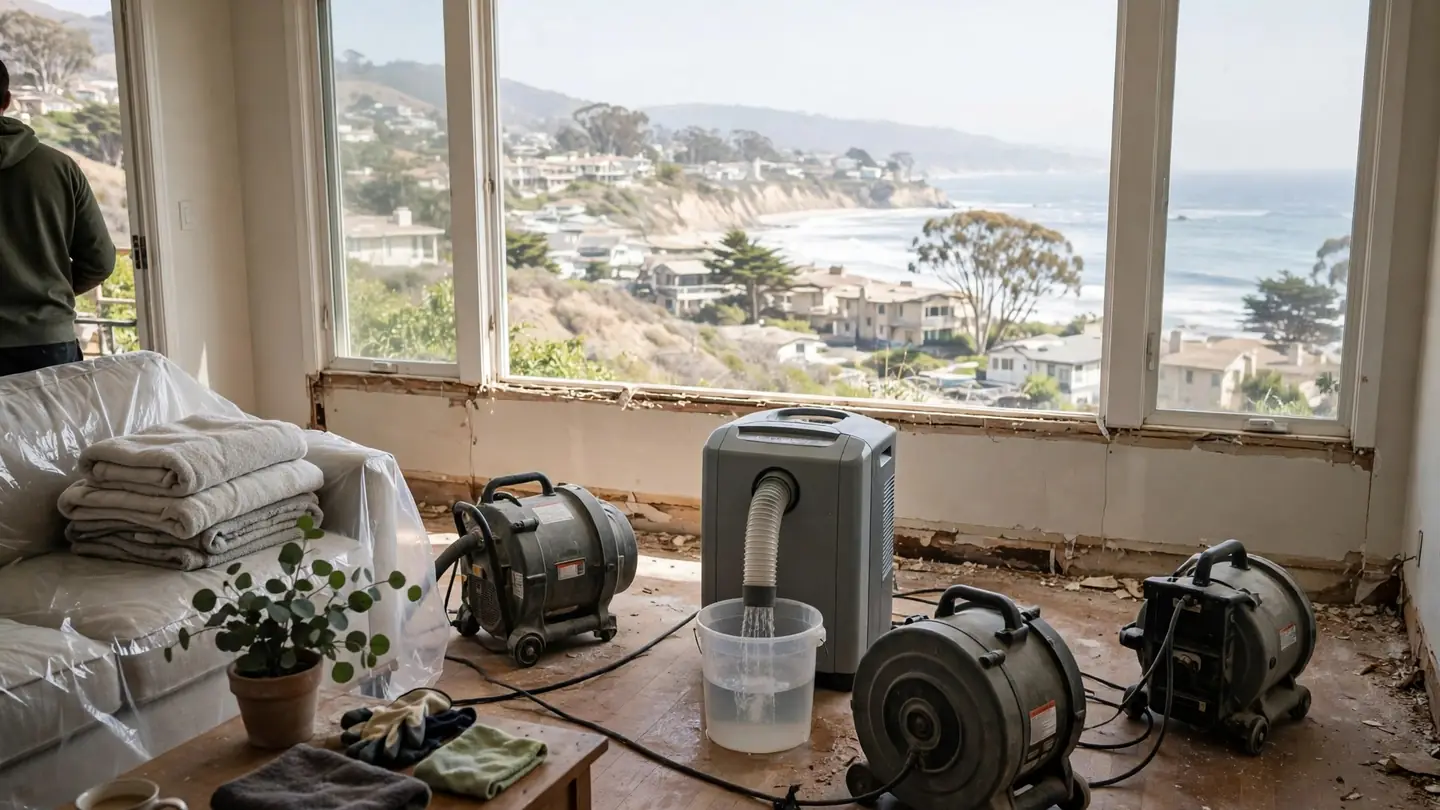
- Structural drying relies on three things: moving air across wet surfaces, removing moisture from that air, and controlling temperature.
- EPA guidance recommends drying wet building materials within 24 to 48 hours to prevent mold growth.
- Drying is finished when readings in affected materials match those in unaffected materials of the same type, not on a fixed date.
How it works
What mitigation means and why it comes first
When water gets into a house, the damage keeps growing after the leak stops. Drywall wicks water upward, wood swells, finishes delaminate, and within a day or two the conditions are right for mold. Mitigation is the work that interrupts that chain: stopping the source, getting standing water out, protecting contents, removing materials that cannot be dried, and starting controlled drying as soon as possible.
Insurers expect it. Most homeowners policies say the policyholder must take reasonable steps to protect the property from further damage after a loss. In practice that means calling for mitigation quickly and keeping records of what was done. Repairs and rebuild come later and are usually handled as a separate phase.
Structural drying is the core of mitigation. It treats the building as a set of materials, each holding a certain amount of water, and uses equipment to move that water from the materials into the air and from the air out of the house. A contractor measures the materials at the start, sets a dry goal for each, and checks progress every day.
It sounds simple, but the details decide whether a job takes three days or ten, and whether a wall is truly dry or only dry on the surface. That is why the equipment and the measurements matter.
The science
The three parts of structural drying
Air movement
Air movers blow a fast, flat stream of air across wet surfaces. That breaks up the thin layer of saturated air that sits against a damp wall or floor and lets more water evaporate.
Dehumidification
Evaporated water has to go somewhere. Refrigerant and desiccant dehumidifiers pull it out of the air so it does not settle back into the materials or move into dry rooms.
Temperature
Warm materials give up moisture faster. Contractors keep the space within a working range, and sometimes use heat in a contained area, while watching that nothing is damaged.
Containment
Plastic sheeting around the wet area shrinks the volume of air the equipment has to treat, which makes drying faster and keeps humid air out of the rest of the house.
Local conditions
Drying a house near the coast
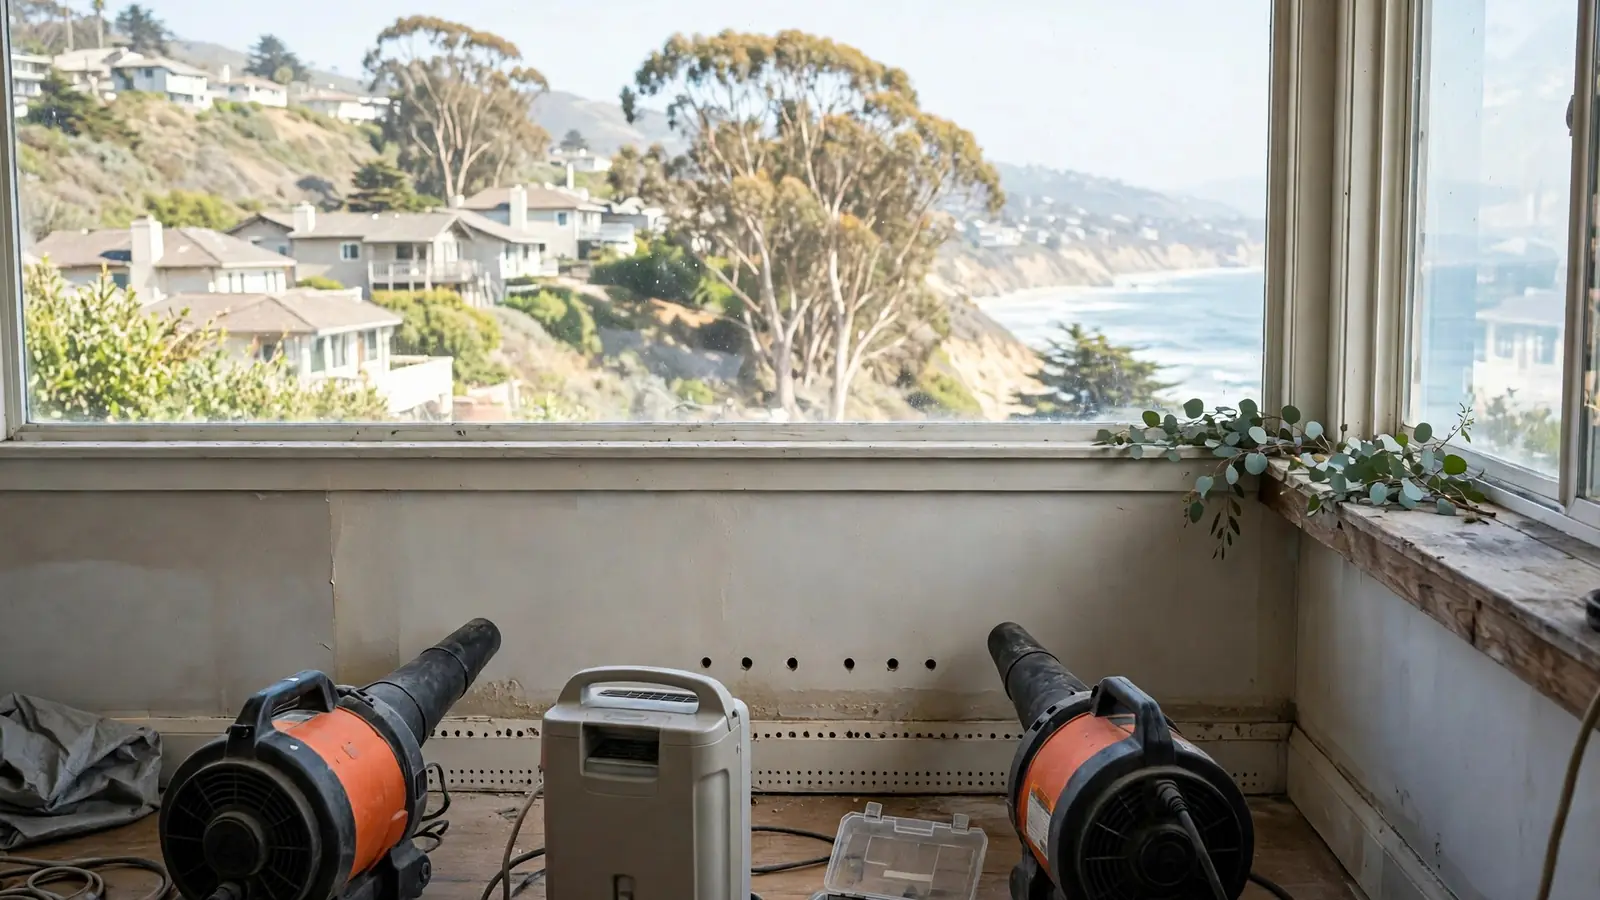
Del Mar's weather is mild, which helps equipment work efficiently, but the ocean keeps the air moist much of the year. Late spring and early summer bring the marine layer, the low cloud locals call May Gray and June Gloom, and on those days outdoor humidity can be close to saturation. Opening windows on a humid morning lets wet air in rather than out.
That is why restorers in coastal areas usually dry with the house closed up, letting dehumidifiers control the indoor air instead of relying on outdoor air. On dry days, especially when warm Santa Ana winds blow off the land in fall and winter, outdoor air can be very dry, and a contractor may use it to help. The right choice depends on readings taken that day, not on a rule.
Salt air adds a further wrinkle for homes right on the beach. Salt left in materials by ocean water keeps attracting moisture, so walls and floors affected by seawater may need rinsing before drying and can test damp again on humid days. A contractor who works near the coast will watch for that.
A good contractor notes the outdoor conditions in the drying log each day, so you can see why the plan changed.
The process
How a drying job is set up and run
- 1
Initial readings and moisture map
Meters and thermal imaging record moisture in every affected material and in a dry reference area. The map shows where water spread.
- 2
Remove what will not dry
Carpet pad, wet insulation and swollen trim come out so air can reach the structure. Baseboards are often removed to open the base of walls.
- 3
Open hidden spaces
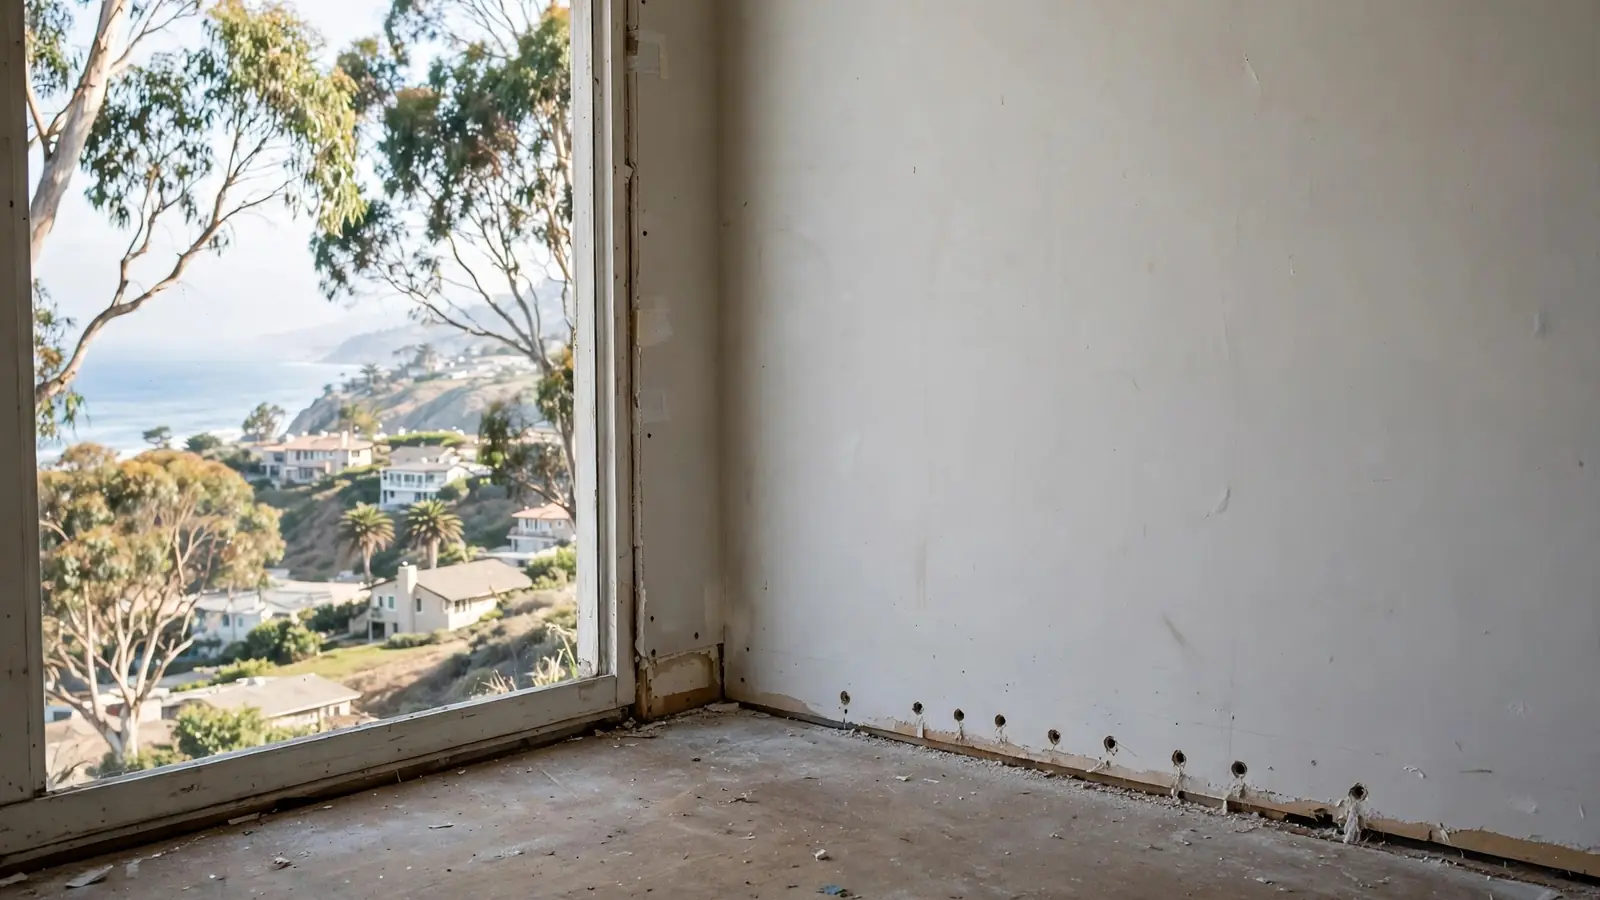
Small holes behind baseboards or cabinet toe kicks let air reach wall cavities and under-cabinet voids. Injection systems push dry air into them.
- 4
Place equipment
Air movers go around the wet area angled along walls; dehumidifiers are sized to the room volume and the amount of water. Containment goes up where it helps.
- 5
Set dry goals
For each material, the goal is the reading of the same material in an unaffected part of the house. That is the standard you dry to.
- 6
Monitor every day
Readings are taken daily, logged and compared with the goal. Equipment is moved or removed as areas dry, and added where progress stalls.
- 7
Close out
When every material meets its goal, final readings are recorded and the equipment comes out. The log is your proof that the structure was dry before rebuild.
Equipment
Drying equipment and what each piece is for
| Equipment | What it does | Where it is used |
|---|---|---|
| Air mover | Moves a high-speed stream of air across wet surfaces | Floors, walls, under raised carpet |
| Refrigerant dehumidifier (LGR) | Condenses moisture from the air; works well in normal room conditions | Most residential drying |
| Desiccant dehumidifier | Absorbs moisture using a drying wheel; works at lower temperatures and humidity | Dense materials, cool spaces, final stages |
| Wall cavity injection | Pushes dry air into wall cavities through small holes | Wet drywall that can be saved |
| Hardwood floor mats | Pull moisture up and out of wood flooring under suction | Cupped hardwood floors |
| Air scrubber | Filters dust and spores from the air | Jobs with demolition or contamination |
| Moisture meters and thermal camera | Measure and map moisture | Every job, every day |
Wall cavities
Drying walls without tearing them out
When drywall gets wet from clean water and is caught early, it can often be saved. The trick is reaching the cavity behind it, where the bottom plate and insulation hold water that the surface does not show.
Restorers usually remove the baseboard and drill small holes at the base of the wall, behind where the baseboard will go back. Dry air is pushed or pulled through those holes, drying the cavity from inside. Once readings show the cavity is dry, the baseboard covers the holes.
If the drywall is soft, the water was contaminated, insulation inside is soaked, or readings do not drop after a day or two, a strip of drywall is cut out instead. That is called a flood cut, and it is usually made at a consistent height so it is easy to patch.
- Baseboards removed, holes hidden behind them
- Injection drying for clean-water cavities
- Flood cuts when the wall cannot be saved
Drying times
How long common materials take to dry
| Material | Typical drying time | Notes |
|---|---|---|
| Drywall (clean water, caught early) | 2 to 4 days | Faster with cavity drying |
| Wood framing and bottom plates | 3 to 5 days | Slower if sealed by paint or trim |
| Plywood or OSB subfloor | 3 to 6 days | May need drying from below too |
| Solid hardwood flooring | 5 to 14 days | Floor mats help; cupping may settle |
| Concrete slab | Days to weeks | Thick slabs and slabs with sealers dry slowly |
| Plaster and lath | 4 to 10 days | Holds water longer than drywall |
DIY or professional
What you can and cannot dry yourself
Box fans and an open window can dry a small spill on tile. A rented dehumidifier can help a damp carpet edge. Beyond that, the problem is not effort but measurement. Without meters, you cannot see that the bottom plate behind a dry-looking wall is still saturated, or that the slab under laminate is still wet. Consumer dehumidifiers also pull far less water per day than commercial units, so a job that takes a contractor four days can take weeks, by which time mold may have started.
Mitigation is also where documentation lives. A drying log with daily readings, photos of equipment placement and a moisture map is what an adjuster looks for. If you decide to start the drying yourself, write down dates, what you used and what you removed.
Insurance
Mitigation, insurance and the drying log
The drying log is the single most useful document in a water damage claim. It shows the date of loss, the initial readings, the dry goal for each material, the daily readings and the final readings. It explains why certain materials were removed and why the equipment stayed for as long as it did.
Ask the contractor for a copy at the end of the job, along with the photos and moisture map. Share them with your adjuster. If a dispute arises later about mold or flooring failure, the log shows the structure was dry before it was closed up. The California Department of Insurance can help if your claim stalls. [3]
The visit
What the first drying visit covers
- 1
Call
You describe the leak and the affected rooms. The contractor explains what to do now and when they can arrive.
- 2
Assessment
Readings, moisture mapping and photos. The contractor shows you where the water went.
- 3
Plan
Which materials stay, which go, what equipment will run and for about how long. Ask for it in writing.
- 4
Setup
Extraction, removals and equipment placement, plus containment if needed.
- 5
Daily checks
The contractor returns to read, log and adjust until the job meets its dry goals.
Prevention
Preventing a repeat
The best mitigation is the one you never need. Leak sensors near water heaters, washers, sinks and toilets warn you early, and automatic shut-off valves stop a leak before it becomes a flood. Replacing supply hoses on schedule, checking the roof and gutters before winter and knowing where the main shut-off is all reduce both the chance and the size of the next loss.
If you had water damage once, ask the contractor what made the drying hard. A slab that held water for weeks might be better under tile than wood. A lower-level wall that stays damp might need exterior drainage work. Those lessons are worth using during rebuild.
Related problems
Problems drying is meant to prevent
Mold behind walls
Wet framing and insulation that stay damp grow mold out of sight. Reaching the cavity is the point of injection drying.
Floor failure months later
Flooring installed over a wet slab or subfloor cups, gaps or loses its adhesive bond.
Paint and finish failure
Paint over damp drywall bubbles and peels. Finishes on wet wood cloud and lift.
Odors that return
A musty smell after repairs usually means a material was closed up before it was dry.
Slabs
Drying a concrete slab
Many homes around Del Mar sit on concrete slabs, and concrete is the slowest common material to dry. It absorbs water readily but releases it slowly, especially when the top is covered by tile, vinyl, adhesive or a sealer. A slab can feel dry to the touch within a day while still holding enough moisture to ruin a new wood or laminate floor laid on top of it.
Contractors dry slabs by removing whatever covers the wet area, running dehumidifiers to keep the air above it dry, and directing air movers across the surface. Desiccant dehumidifiers are often brought in toward the end because they keep pulling moisture when the air is already fairly dry. Readings are taken with a concrete moisture meter; before new flooring goes down, the flooring installer may want their own test based on the product's requirements.
If the water came from a leaking pipe under the slab, the plumbing repair has to be finished first, or the slab keeps rewetting from below.
Wood floors
Rescuing wet hardwood floors
Solid hardwood reacts to water quickly: boards absorb it from below, swell, and cup, with the edges higher than the centers. The instinct is to rip them out, but many floors recover with controlled drying. Floor drying mats are laid over the boards and connected to a vacuum system that pulls moisture up through the wood. Dehumidifiers keep the room dry so the boards give up water evenly.
Drying is slow, often a week or more, and it is watched closely, because drying too fast can crack boards. Once readings stabilise, many floors flatten enough to be sanded and refinished. Engineered wood and laminate are less forgiving; their layers can delaminate and the core can swell permanently, so they are more often lifted to dry the subfloor underneath.
Under the house
Raised floors and crawlspaces
Some older homes and many hillside houses in Del Mar have raised wood floors over a crawlspace. Water that spreads across the floor drips through gaps into the crawlspace and soaks the subfloor from both sides. Drying that kind of floor means working from above and below: air movers and dehumidifiers in the rooms, and ventilation or a dehumidifier in the crawlspace, with the vapor barrier checked and replaced if water pooled on it.
A crawlspace that stays damp after a leak can feed mold on joists and subfloor and send musty air up into the house. Ask the contractor to look under the house even if the water seemed to stay on the surface.
Tricky spots
Spaces that are harder to dry
Under kitchen cabinets
Water runs under the toe kick and sits on the subfloor beneath the cabinet base. The toe kick is removed so air can get in.
Behind tub and shower walls
Tile walls do not let moisture escape. Drying often happens from the other side of the wall or through an access panel.
Stair stringers and landings
Water runs down stairs and into the framing. Carpet and pad come off so the treads and stringers can dry.
Built-in closets and cabinets
Enclosed spaces trap humid air. Doors are opened, drawers removed and air directed inside.
The judgment call
Choosing between drying in place and removal
Every drying plan rests on a judgment about what to save. Drying in place keeps original materials, causes less disruption and avoids a rebuild for those parts. Removal opens the structure, speeds drying and takes away anything that may be contaminated or damaged beyond use. A good contractor explains each call in terms of the water category, how long the material was wet, how it responds to the first day of drying and whether it hides something that needs to be seen.
Expect the plan to change as the job goes on. A wall that was expected to dry may stall and need a flood cut; a floor that looked lost may settle as it dries. The daily readings are what drive those changes, and the contractor should tell you about each one as it happens so there are no surprises when you see the log. If something is removed, ask that it be photographed first, with a meter reading in the frame, for your records.
FAQ
Drying and mitigation questions in Del Mar
How long does structural drying take?
Most residential jobs take three to five days. Hardwood floors, plaster and concrete can take longer. Daily readings decide when it is done.
Can I turn the equipment off at night?
It is best not to. Drying depends on continuous air movement and dehumidification. Turning equipment off lets humidity rise and can add days.
Why are my baseboards being removed?
Removing baseboards exposes the base of the wall so air can reach the cavity and the bottom plate. Holes drilled there are hidden when the baseboard goes back.
Should I open the windows to help?
Only if the contractor says outdoor air is dry enough. Near the coast, outdoor air is often humid, and opening windows can slow drying.
What is a dry goal?
It is the moisture reading of the same material in an unaffected part of the house. Drying aims to bring wet materials back to that level.
Is mitigation covered by insurance?
For covered losses, reasonable mitigation is usually part of the claim. Your policy terms and the cause of the water decide coverage.
Can the noise be reduced?
Equipment is noisy. Contractors can sometimes reposition units or use quieter models, but turning them down slows drying.
Will drying damage my furniture or art?
Contents in the drying area are moved out or protected. Tell the contractor about pieces that are sensitive to dry air, such as antiques, pianos and paintings, so they can be moved first.
What happens after drying?
Repairs and rebuild: drywall, insulation, paint, baseboards and flooring. Those can be done by the same contractor or another one you choose.